
Ingredients:
- 3 cups lukewarm water
- 1½ tablespoons granulated yeast (equivalent to 1½ packets)
- 1½ tablespoons kosher or other coarse salt
- 6½ cups (29.25 ounces) unsifted, unbleached, all-purpose white flour, measured using the scoop-and-sweep method
Instructions:
Mixing and Storing the Dough:
- Warming the Water: Slightly warm the water, ensuring it feels a little warmer than body temperature, around 100ºF.
- Adding Yeast and Salt: Add yeast and salt to the water in a five-quart bowl or a resealable, lidded (not airtight) plastic food container or food-grade bucket. Don’t worry about complete dissolution.
- Mixing in the Flour: Mix in the flour by adding it all at once, measured with dry-ingredient measuring cups. Use a wooden spoon to mix until everything is uniformly moist without dry patches. Avoid kneading; the dough should be wet and loose enough to conform to the container’s shape.
- Allowing the Dough to Rise: Allow the dough to rise by covering it with a lid (not airtight). Let it rise at room temperature until it begins to collapse or flatten on top, approximately two hours. For easier handling, refrigerate the dough overnight before shaping a loaf.
On Baking Day:
- Shaping the Loaf: Sprinkle the refrigerated dough’s surface with flour and cut off a 1-pound portion using a serrated knife. Shape the dough into a smooth, cohesive ball.
- Resting the Loaf: Place the shaped ball on a cornmeal-covered pizza peel or a cornmeal-covered cutting board if not using a pizza stone. Let the uncovered loaf rest on the peel for about 40 minutes.
- Preheating the Oven: Preheat the oven to 450ºF, with a baking stone on the lowest rack, 20 minutes before baking. Place an empty broiler tray on a shelf that won’t interfere with the rising bread.
- Dusting and Slashing: Dust the top of the loaf with flour and make several ¼-inch-deep slashes.
- Baking: Slide the loaf onto the preheated stone, pour about one cup of hot tap water into the broiler tray, and quickly close the oven door. Bake for approximately 30 minutes or until the crust is nicely browned. Allow the bread to cool completely on a wire rack.
Why Artisan Bread at Home?
- Simple ingredients for a homemade touch.
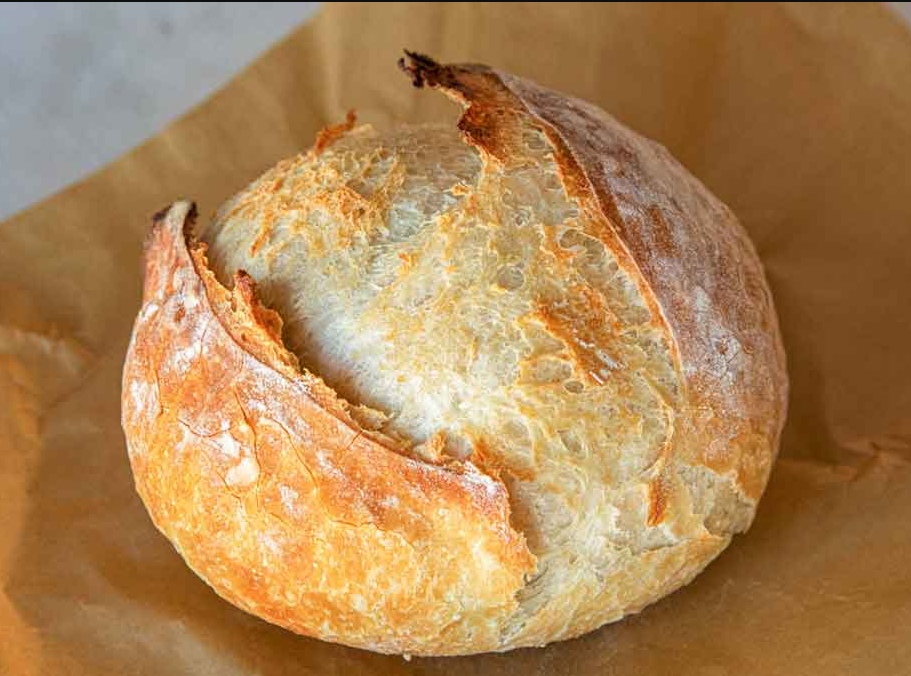
- Crispy crust and soft interior.
- Versatile for sandwiches, toasts, or as a side with meals.
- Impress family and friends with your baking skills.
FAQS:
Q: Can I use whole wheat flour instead? A: Yes, you can experiment with whole wheat flour or a mix of flours for a different flavor profile.
Q: Is there a substitute for kosher salt? A: Sea salt or table salt can be used as an alternative.
Q: Can I freeze the dough for later use? A: Absolutely! Freeze portions of the dough, thaw, and bake whenever you crave fresh bread.
Conclusion:
Baking your own Artisan Bread is a rewarding experience that fills your kitchen with the irresistible aroma of freshly baked goodness. This simple recipe allows you to master the art of bread-making, creating a masterpiece that is not only delicious but also a testament to your culinary prowess. Enjoy the joy of homemade bread! 🍞